













Woodoku Guide: Block Placement, Modes and Better Moves
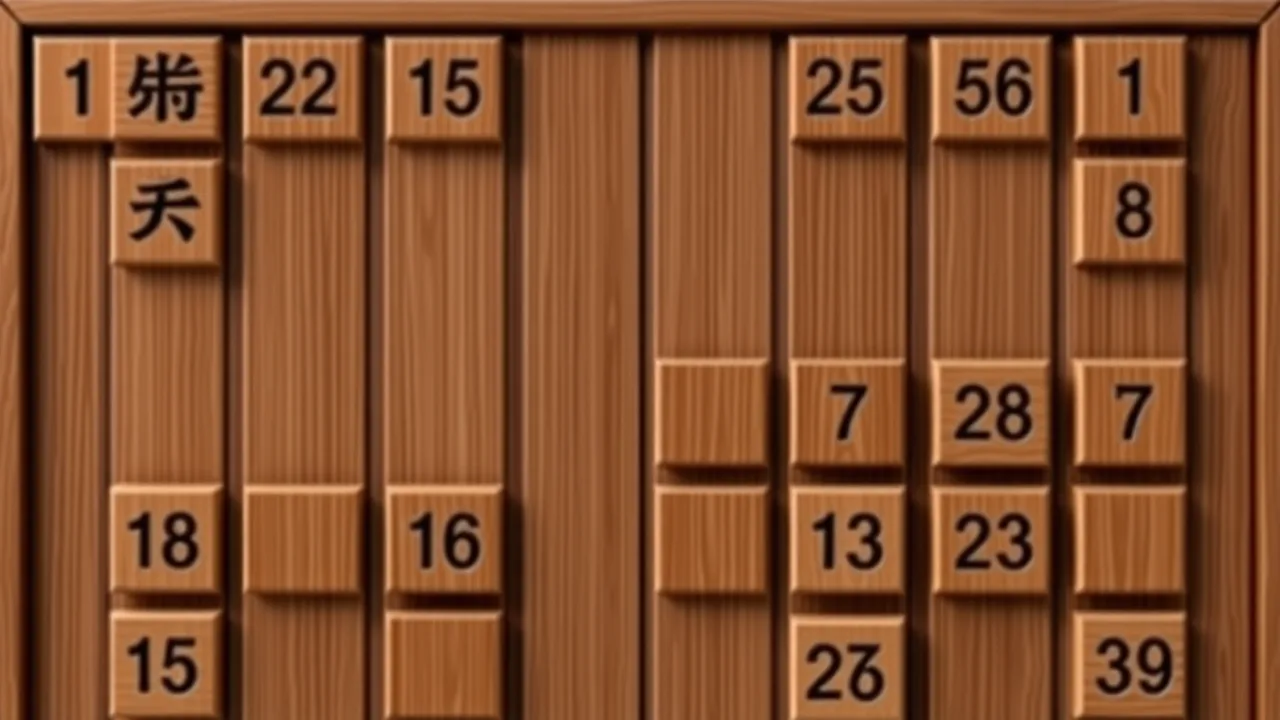
A small wooden shape can cause a surprisingly large problem when it closes the only space left for your next piece. That is the central challenge in Woodoku: arranging blocks so that completed horizontal and vertical lines clear away, while keeping enough useful space for the shapes still waiting to be placed. You are making decisions about geometry, access and order. You are not filling a Sudoku grid with numbers.
This guide concerns the browser version of Woodoku on Kizi10. Its opening menu offers Classic, Timed and Bomb modes. Begin with the basic placement problem rather than assuming that every game carrying the Woodoku name uses the same rules. Once you understand how a placement changes the empty board, you can make better decisions even when a different mode adds pressure.
Understand what a successful placement actually does
The immediate task is to place a wooden shape into empty cells. A complete line clears, giving you room to continue. The important distinction is between a move that simply fits and a move that improves the board. An awkward piece may fit in several places, but some placements leave clean rectangular spaces while others divide the remaining area into narrow pockets. Those pockets can become unusable long before the board looks full.
Think about empty space as something you shape deliberately. A broad opening can accommodate several different pieces. Two isolated gaps containing the same total number of cells may accommodate almost nothing. Before releasing a block, look at the outline of the space it leaves behind. If the outline has several little inward corners, the placement may be creating a problem that a quick glance at the score will not reveal.
Learn the drag-and-drop control before chasing points
Use the mouse to pick up a piece, move it over the intended position and release it when the placement is aligned. On a touch screen, the equivalent action is to hold and drag. Keep your attention on the outline of the piece and the board underneath it. Moving the pointer quickly is less valuable than knowing precisely which cells the piece will occupy.
Test the control with an uncomplicated early placement. This is particularly useful on a smaller screen, where your finger can cover the destination. Allow enough room to see the piece relative to the occupied cells before you let go. Do not plan around a rotation, undo or other tool until you have actually identified that control in the version you are playing. A strategy that depends on an unavailable action is not a workable strategy.
Read the available shapes as a group
Looking at only the piece you have already picked up encourages short-term decisions. First inspect the other available shapes. If one of them has very few possible homes, work out where it can go before spending that space on an easier block. A small piece often has several alternatives; a long or awkwardly shaped piece may have just one. That difference matters more than the order in which the pieces caught your eye.
Try a simple mental rehearsal: place the difficult shape in your imagination, then check whether the remaining pieces still have somewhere sensible to go. Compare that sequence with placing a small piece first. Sometimes the small placement completes a line and opens the exact area the larger piece needs. In other positions it blocks the only landing area. There is no universal rule to always play the biggest or smallest shape first.
Build toward a clear without making a permanent hole
A nearly complete row is useful only if the missing cells can realistically be filled. Leaving a one-cell gap can be tempting because it makes the rest of the row look tidy. However, if none of your available shapes can reach that cell without overlapping another block, the row is not as close to completion as it appears. Check the shape of the gap, not merely the number of occupied cells.
When two placements would both advance the same row, prefer the one that also gives you a useful column or preserves a second route to a clear. This creates flexibility. You do not need to predict every future shape; you need more than one reasonable way to proceed. A board with several workable plans is generally easier to manage than a board requiring one exact piece to rescue it.
Use corners carefully rather than treating them as storage
Corners are convenient reference points because their edges help you line up pieces. That does not mean every awkward shape belongs there. A piece that wraps around an empty cell can trap a gap against the edge. Another piece may sit neatly against the same edge and leave a straight boundary. The difference is easy to miss when you are concentrating only on finding somewhere that the block fits.
After working along an edge, scan the nearby rows and columns before moving elsewhere. Look for small gaps that you have begun to surround. If an available piece can repair one without damaging a more important opening, consider doing so now. Leaving every small repair for later can turn the board into several separate problems, each waiting for a different shape that may not arrive when you need it.
Decide when a multiple-line clear is worth preparing
Clearing a row and a column with one placement can free a valuable crossing area. It is worth noticing these opportunities, but the preparation has a cost. Holding the board in an awkward state while waiting for a particular shape may prevent you from placing the pieces you already have. A promising-looking future clear is not worth losing the current round over.
Use two questions to judge the trade-off. Can all currently available pieces still be placed if the ideal finishing shape does not appear next? Does the setup preserve enough connected space for a different clear? If the answers are uncertain, take a simpler line and restore room. Longer sessions often depend on several modest repairs rather than a single spectacular move.
Choose Classic, Timed or Bomb for the right reason
The three mode labels are visible in this version's opening menu. Classic is the sensible place to practise reading shapes and preserving space before adding another demand to your decisions. Use it to learn your own recurring mistakes: placing a convenient piece too early, overlooking an edge gap or concentrating on a single row while the rest of the board becomes fragmented.
Timed and Bomb introduce different pressures, so read their on-screen indicators when you enter them. Keep the placement fundamentals, but let the actual objective shown in the game determine which area needs attention first. Do not assume a fixed countdown, a particular reward or a rule remembered from another website. Practising Classic prepares your board-reading habits; it does not remove the need to understand the selected mode.
A useful routine when the board starts to tighten
Pause your search for a high-scoring move and count your realistic options. Identify the shape with the fewest legal destinations. Check whether a line can be completed before placing it. Then inspect the largest connected empty area and decide which placement preserves it best. This routine turns a crowded board from a confusing picture into a smaller set of choices you can compare.
Pay attention to the aftermath of a clear. Removing a line changes several neighbouring spaces at once, so the plan you formed before it happened may no longer be the best plan. Look again instead of automatically continuing the old sequence. You may discover that a difficult piece now fits comfortably, or that a small block can finish another line without sacrificing the opening you just recovered.
Improve through specific observations
When a round ends, identify the earliest move you remember making without checking the other shapes. That is a more useful starting point than simply deciding you need to think faster. Perhaps you covered the middle of a wide opening, or created two separate gaps when one larger space would have worked. Give yourself one concrete thing to watch for during the next attempt.
You can also compare two plausible placements during an otherwise ordinary turn. Ask which leaves fewer isolated cells, which helps complete a real line and which gives the remaining shapes more destinations. This is practice in evaluating the board, not a promise of a perfect score. Different arrangements can make later choices easier or harder, and a sensible decision can still be followed by a difficult set of shapes.
Find a related challenge without confusing the rules
The block games collection is a useful next stop if arranging shapes appeals to you. It includes several kinds of block-based play, so read each game's objective before transferring a strategy. A placement puzzle, a sorting challenge and a block-themed action game may share an appearance while asking for entirely different decisions. Select by mechanic rather than by the material or colour of the blocks.
For Woodoku itself, the most reliable habit remains simple: inspect the available shapes, imagine the empty space after your move and release the piece deliberately. Keep multiple routes to a clear open whenever possible. Learn what the selected mode actually asks of you, and treat the end of a round as feedback about your placements. That gives every new attempt a practical purpose beyond trying to make the number at the top a little larger.